What is F-Stop in Photography (Tips from a Pro Photographer)
To get better at photography, f-stop is an important concept to learn.
It helps you control how bright your photos are and how blurry or clear the background looks. F-stop is about the opening in your camera lens that lets light in.
So, let’s see how understanding f-stop will help you take better pictures!
What is F Stop in Photography?
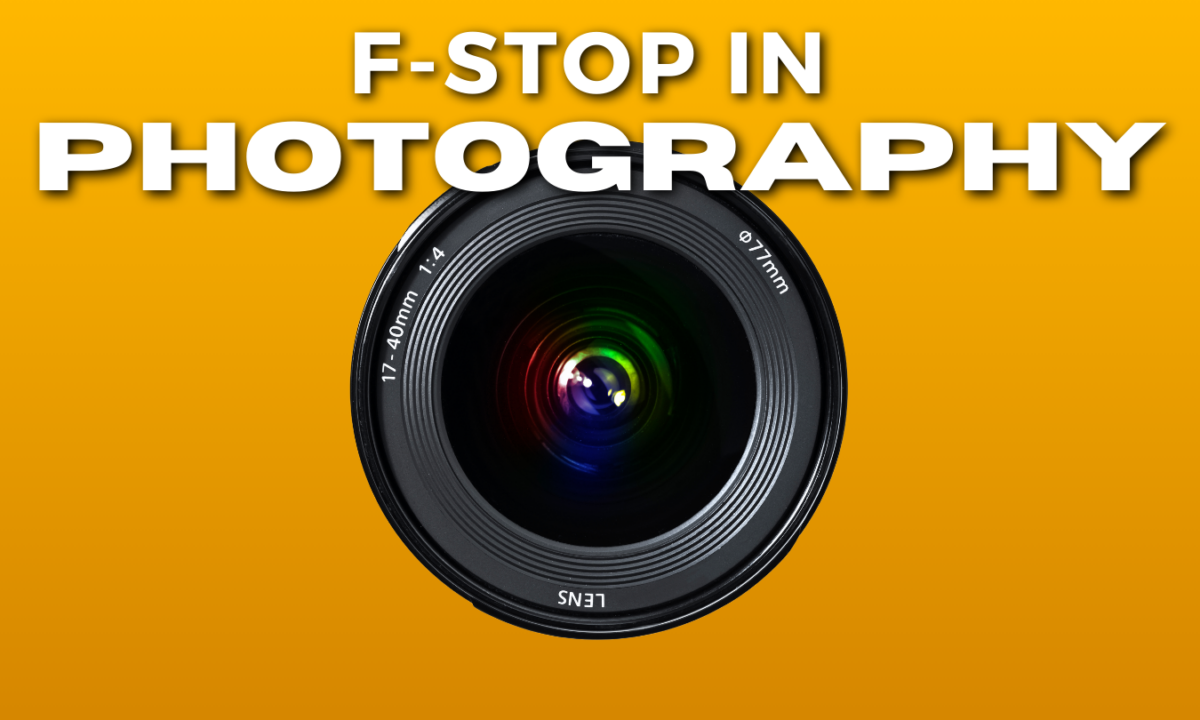
F-stop is a key setting on cameras that controls how much light enters the lens. It affects both exposure and depth of field in your photos.
Basics of F-Stops
F-stop measures the size of your camera’s aperture opening.
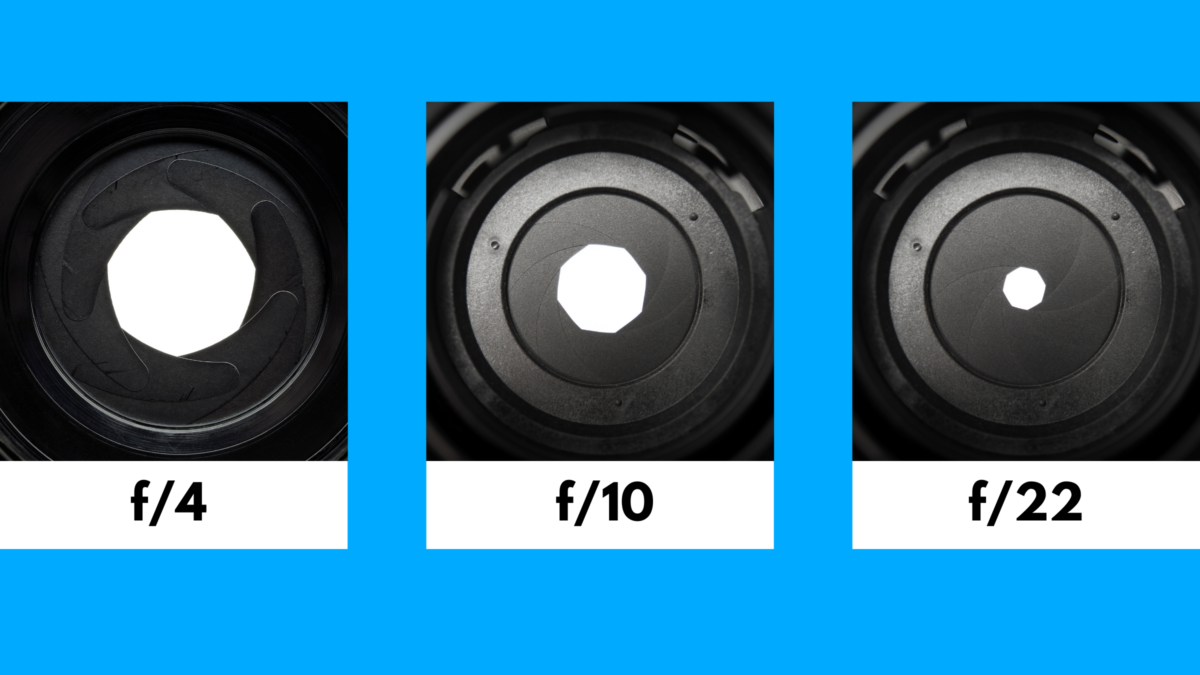
The aperture is like the pupil of your eye – it can be wide open or nearly closed. A lower f-stop number means a bigger aperture opening, letting in more light.
For example, f/2.8 is a large opening, while f/16 is much smaller.
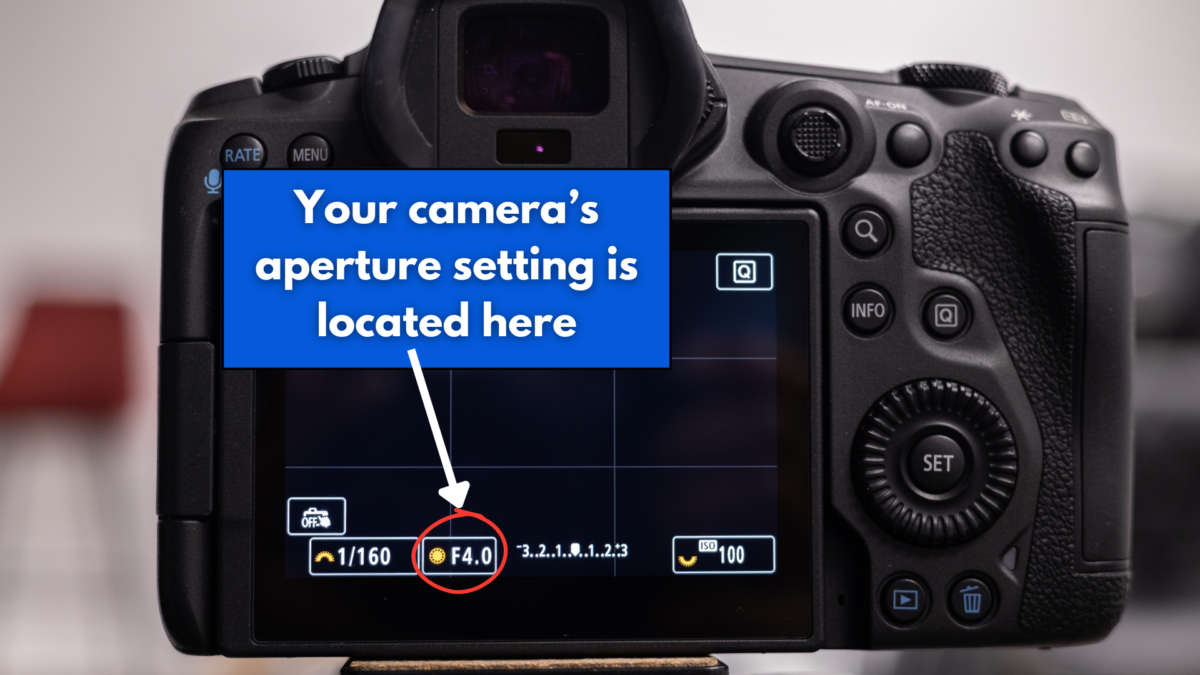
When you change the f-stop, you’re changing how much of your image is in focus.
A low f-stop like f/2.8 creates a shallow depth of field, keeping your subject sharp but blurring the background.
A high f-stop like f/16 keeps more of the image in focus from front to back.
The F-Stop Scale
The f-stop scale uses standard values that double or halve the amount of light.
Common full stops include f/1.4, f/2, f/2.8, f/4, f/5.6, f/8, f/11, and f/16. Each step up this scale lets in half as much light as the previous one.
Many cameras also offer third-stop increments between these main values. This gives you finer control over your exposure.
F-stops are actually fractions. A smaller number like f/2 represents a larger aperture than f/11. It can seem backward at first, but you’ll get used to it with practice.
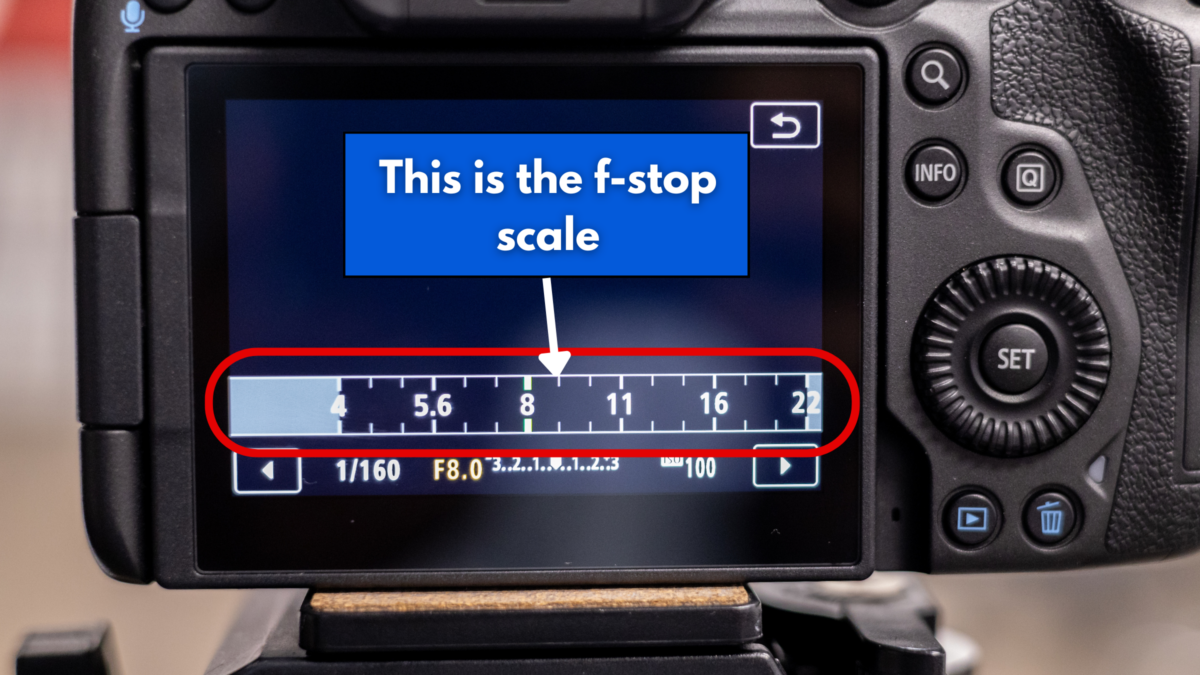
Photography F-Stop for Beginners
Here’s a quick guide to help you understand f-stops:
- f/1.4 – f/2.8: Very large openings, great for low light
- f/4 – f/5.6: Medium-large, good for portraits
- f/8 – f/11: Medium-small, ideal for landscapes
- f/16 – f/22: Very small, used for bright scenes
Try this: Set your camera to aperture priority mode (often marked as ‘A’ or ‘Av’). Now you can easily adjust the f-stop and see how it affects your photos.
Helpful Photography F-Stop Table
Sometimes, f-stops can be tricky to remember. Having a quick reference guide can make photography much easier.
So I made a handy table of common f-stops you’ll encounter:
| F-Stop | Aperture Size |
|---|---|
| f/1.4 | Very Large |
| f/2 | Large |
| f/2.8 | Large |
| f/4 | Medium |
| f/5.6 | Medium |
| f/8 | Small |
| f/11 | Small |
| f/16 | Very Small |
| f/22 | Tiny |
As you move down the table, each step reduces the amount of light entering your camera by half. This is called “stopping down.”
You might notice some f-stops are missing from this list. That’s because these are the most common full stops.
Your camera may have half or third stops between these values for finer control.
Bokeh and Aesthetics
Bokeh is the pretty, blurry background you get with a wide aperture (small f-stop number). It can make your photos look dreamy and professional.
The shape of your lens blades affects how bokeh looks. Some lenses make round, soft circles. Others create shapes like hexagons.
Bokeh works great for:
- Portraits
- Close-up nature shots
- Night photos with lights
To get nice bokeh:
- Use a low f-stop (f/1.8 to f/2.8)
- Put some distance between your subject and the background
- Look for interesting light sources in the background
Play around with different f-stops to see how they change your image’s look and feel.
F-Stop in Different Photography Styles
F-stop settings play a big role in shaping the look and feel of photos across various styles. The right f-stop choice can make or break your image depending on what you’re shooting.
Portrait Photography
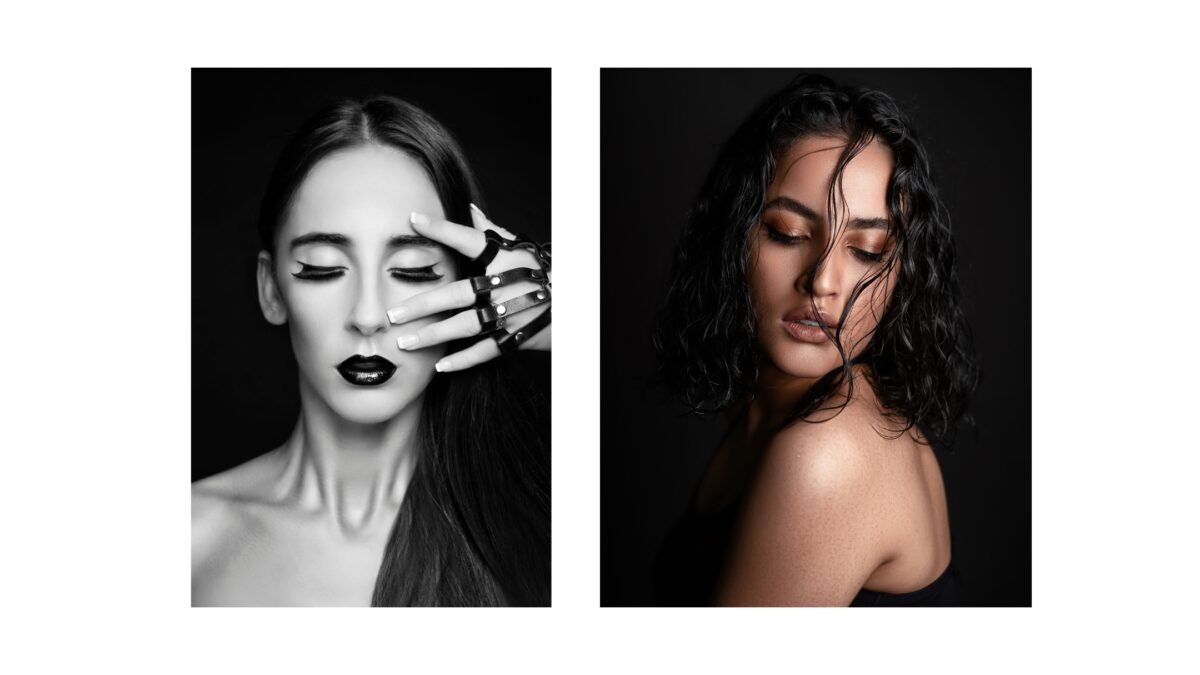
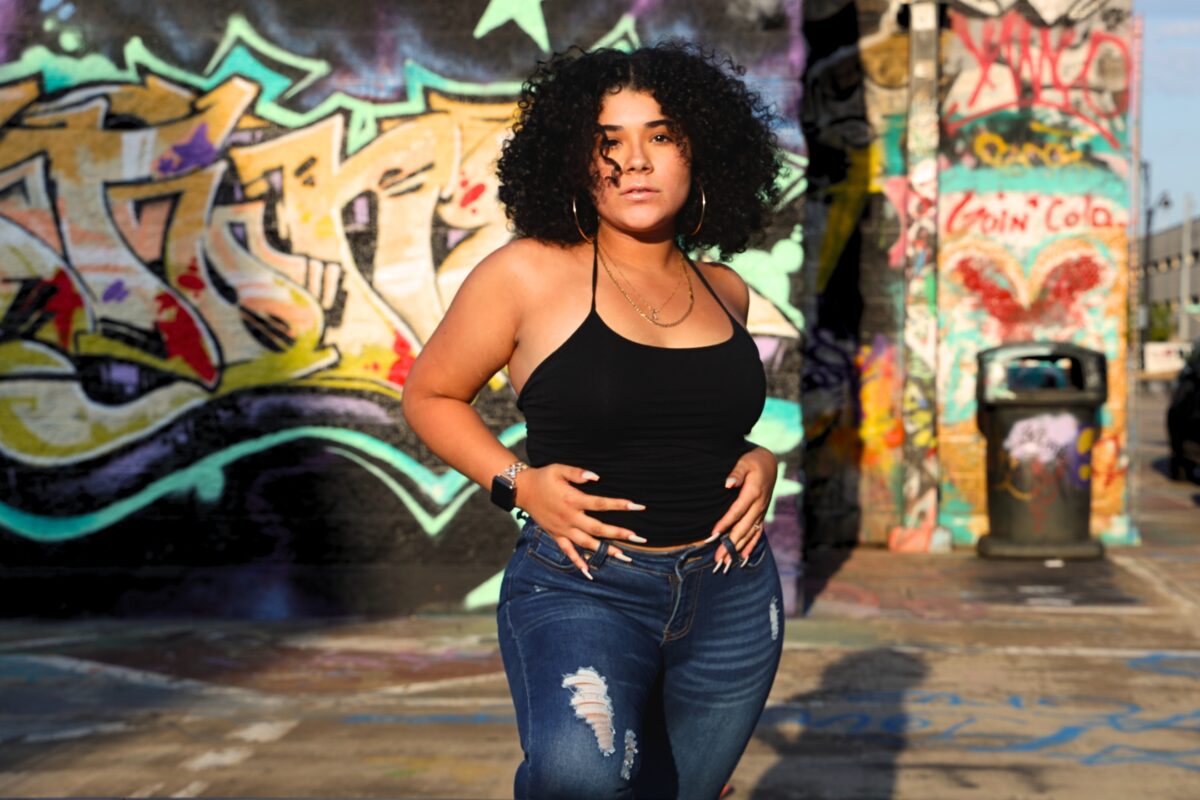
For portraits, you’ll often want to use a low f-stop number like f/1.8 or f/2.8.
This creates a shallow depth of field, blurring the background and making your subject pop. It’s great for headshots and full-body portraits alike.
Try these f-stop tips for your next portrait session:
- Use f/1.8 to f/2.8 for a dreamy, blurred background
- Choose f/4 to f/5.6 if you want more of the subject in focus
- Go for f/8 or higher when shooting group portraits
Remember, lower f-stops let in more light. This is handy for low-light situations or when you want to freeze motion with a fast shutter speed.
Landscape Photography
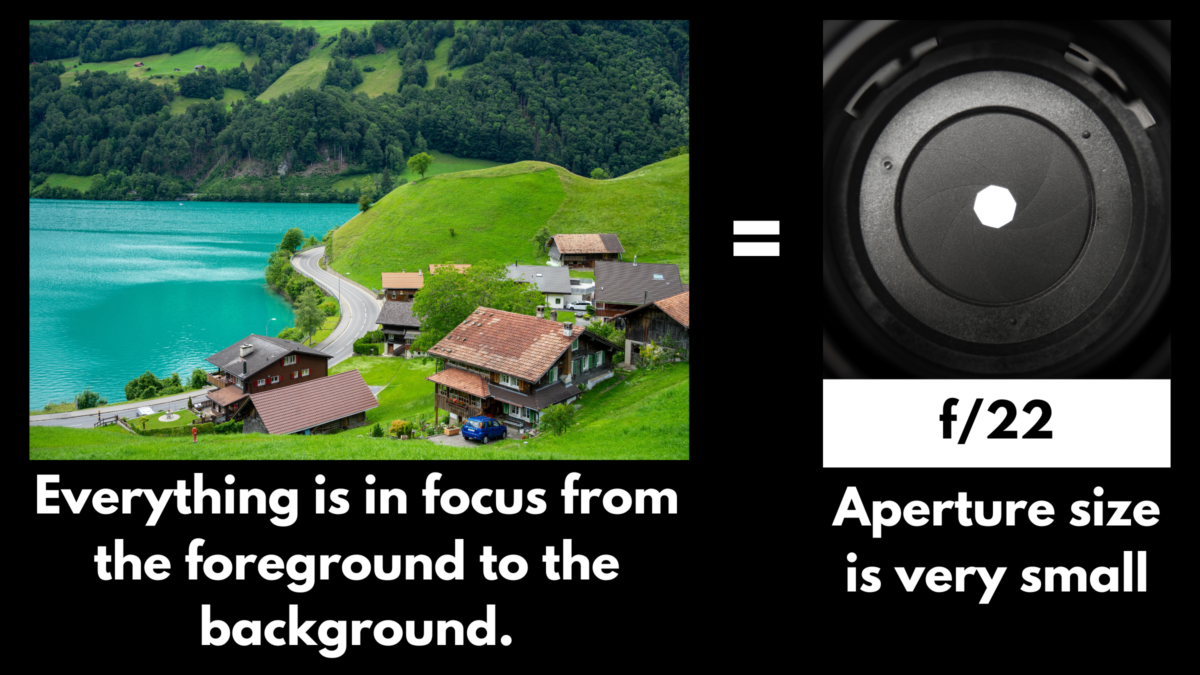
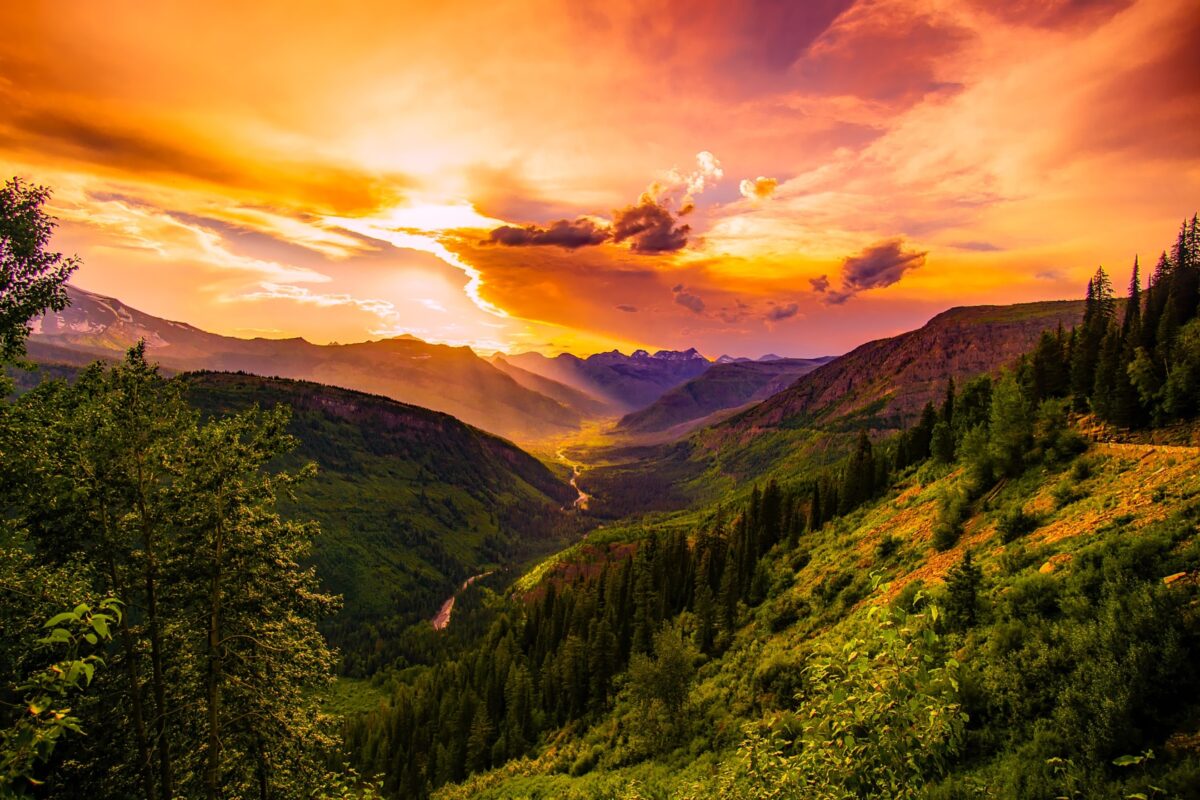
Landscape photos usually benefit from a larger f-stop number.
This gives you a wide depth of field, keeping everything from the foreground to the background sharp and clear.
Here’s how to use f-stops for stunning landscapes:
- Start with f/8 to f/11 for a good balance of sharpness and depth
- Try f/16 or higher for maximum depth of field
- Use f/5.6 to f/8 if you want to slightly blur distant elements
Don’t forget to use a tripod with higher f-stops. They let in less light, so you’ll need slower shutter speeds to compensate.
Street and Macro Photography
Street and macro photography often require different f-stop approaches.
For street shots, you might want a mix of sharp subjects and blurred backgrounds. In macro, the choice depends on how much of your tiny subject you want in focus.
For street photography:
- Use f/5.6 to f/8 for a good balance of subject and background detail
- Try f/2.8 to f/4 to isolate subjects from busy scenes
In macro photography:
- Start with f/8 to f/11 for sharp details on small subjects
- Use f/16 or higher if you need more of the subject in focus
- Try f/2.8 to f/4 for artistic shots with extremely shallow depth of field
Using Your Camera’s Settings
Manual Mode and Aperture Priority
In Manual mode, you have full control over your camera. You can set the f-stop, shutter speed, and ISO yourself. This gives you the most creative freedom.
It’s great for tricky lighting situations.
Aperture Priority mode is easier to use. You pick the f-stop, and your camera chooses the shutter speed. This mode is perfect for controlling depth of field.
Use it to blur backgrounds or keep everything sharp.
To change modes, look for a dial on top of your camera. It might have letters like M for Manual or A for Aperture Priority.
You can see your settings on the LCD screen or through the viewfinder.
Understanding ISO and Shutter Speed
ISO controls how sensitive your camera is to light. A low ISO (like 100) is best for bright days. It gives you clean, crisp images.
Higher ISOs (like 1600) help in dark places but can make your photos grainy.
Shutter speed affects how motion looks in your photos. Fast speeds freeze action. Slow speeds can blur movement.
Think about what you want to capture.
To change these settings:
- Find the ISO button on your camera body
- Use the control dial to adjust shutter speed in Manual mode
- Watch your LCD screen to see how changes affect your exposure
Try different combinations to see what works best for your shot. Don’t be afraid to experiment!
Choosing the Right Lens
Picking the right lens impacts your f-stop options and photo quality. Your choice affects how much light enters the camera and what you can capture.
Prime vs. Zoom Lenses
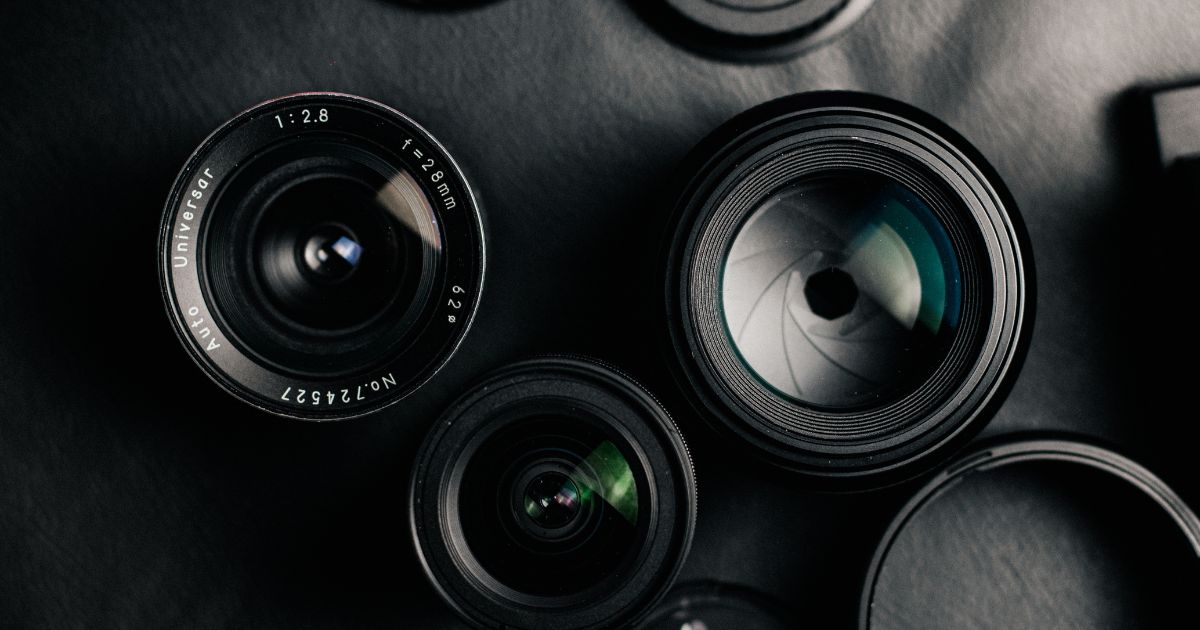
Prime lenses have a fixed focal length. They’re often sharper and let in more light.
This means you can use faster shutter speeds or shoot in low light.
Zoom lenses let you change focal length without switching lenses. They’re great for different shots without moving.
Prime lenses usually have wider maximum apertures. This gives you more control over depth of field.
Zoom lenses are more flexible but may have smaller maximum apertures.
Maximum Aperture and Lens Speed
A lens’s maximum aperture tells you how “fast” it is. Fast lenses have wide maximum apertures like f/1.4 or f/2.8.
They let in more light, so you can use faster shutter speeds.
Fast lenses are great for low light and blurring backgrounds. But they’re often bigger and pricier.
Slower lenses with smaller maximum apertures like f/4 or f/5.6 are lighter and cheaper.
Your needs should guide your choice. Fast prime lenses are ideal for portraits or low-light photography, while zoom lenses work well for travel or events where flexibility is needed.
Technical Aspects of Aperture
Aperture Design and Pupil
The aperture is like the pupil of your eye. It’s a hole in the lens that opens and closes to let in more or less light.
Lens makers design apertures to work well at different focal lengths. Wide-angle lenses often have larger maximum apertures than telephoto lenses.
This is because it’s harder to make a big opening in a long lens.
The ratio of the focal length to the aperture diameter gives you the f-number. For example, if a 50mm lens has a 25mm aperture, the f-stop is f/2.
Aperture Blades and Diaphragm
Inside your lens, a set of blades forms the aperture diaphragm. These blades move to change the size of the opening.
More blades usually mean a rounder aperture, which can give smoother out-of-focus areas in your photos.
The number of blades varies between lenses. Some have as few as 5, while others have 9 or more.
When you look through your lens, you might see these blades form a polygon shape.
Aperture blades also affect how light points look in your image.
With fewer blades, you might see angular shapes in bright spots when using smaller apertures. This can be a creative effect or an unwanted distraction, depending on your goals.

Managing Low-Light Conditions
Low-light photography can be tricky. But with the right aperture settings, you can get great shots.
In dim light, use a wide aperture (small f-number) to let in more light. This might mean setting your lens to f/1.8 or f/2.8.
Wide apertures also create a shallow depth of field. This can help your subject stand out from a dark background.
If you’re shooting still subjects, try a slower shutter speed too. This lets in more light.
Remember to use a tripod to avoid camera shake.
Raising your ISO can also help in low light. But be careful—too high an ISO can make your photos grainy.
Creative Use of F-Stop
F-stop is not only a technical setting – it’s a powerful tool for artistic expression.
You can use it to guide viewers’ attention and create unique visual stories.
Storytelling with Depth of Field
F-stop lets you control depth of field, which can tell a story all on its own.
By using a low f-stop like f/1.8, you can blur the background and make your subject pop. This works great for portraits or close-ups of small objects.
Try setting up a scene with objects at different distances. Use a wide aperture to focus on one item. The blurred elements will create a sense of mystery or context.
You can also do the opposite. Use a high f-stop like f/16 to keep everything in focus. This works well for landscapes or group shots where you want to show all the details.
Artistic Expression Through Aperture
Playing with f-stop can lead to some cool effects. At night, try using a wide aperture to capture points of light as soft, glowing orbs.
This creates a dreamy look for cityscapes or holiday scenes.
For a unique twist on portraits, use a very narrow aperture like f/22. Then place a light source behind your subject.
You’ll get a starburst effect which adds drama to the image.
Don’t be afraid to break the rules. Sometimes a slightly out-of-focus shot can create a mood or feeling a sharp image can’t match.
Experiment with different f-stops to find your own style.
Troubleshooting Common Issues
Blurry photos? Check these things:
- Shutter speed too slow: Increase your f-stop or ISO
- Wrong focus point: Make sure you’re focusing on the right spot
- Camera shake: Use a faster shutter speed or a tripod
Overexposed or underexposed? Try these fixes:
- Too bright: Choose a higher f-stop number
- Too dark: Lower your f-stop number or raise ISO
If parts of your image are in focus but others aren’t, you might need a smaller aperture (higher f-number) for more depth of field.
Conclusion
F-stop is a key concept in photography you’ll want to familiarize yourself with.
There’s no “perfect” f-stop, as it depends on what you want to achieve.
So have fun experimenting! Your camera is a powerful tool, and understanding f-stops will help you get the most out of it.
Frequently Asked Questions About F-Stop
What’s the deal with f-stop numbers in cameras?
F-stop numbers show how wide your lens opening is. A small number like f/2.8 means a big opening. A big number like f/16 means a small opening. It’s backward from what you might expect!
How does changing the f-stop change my photo?
Changing the f-stop affects how much of your photo is in focus. A low f-stop like f/2.8 blurs the background. A high f-stop like f/16 keeps more things sharp. It also changes how much light enters your camera.
Can you explain the difference between f-stop and aperture?
F-stop and aperture are closely linked. Aperture is the actual opening in your lens. F-stop is the number that measures the opening. When you change the f-stop, you’re changing the aperture.
Why would I choose a low versus a high f-stop?
You’d pick a low f-stop to blur backgrounds or shoot in low light. A high f-stop is great for landscapes or group shots where you want everything sharp. It’s all about what look you’re going for in your photo.
What’s an f-stop chart and how do I use it?
An f-stop chart shows common f-stop values. It helps you see how each step changes the amount of light. You can use it to plan your shots or understand exposure better.
What’s the meaning behind f 2.8 and other similar f-stop values?
The “f” stands for “focal length.” The number is the focal length divided by the aperture diameter.
So f/2.8 means the aperture is open to 1/2.8 of the focal length. It’s a way to keep the measurements consistent across different lenses.
